A full kitchen renovation can be extremely expensive, but here’s the good news. You DON’T need to knock down walls or replace cabinetry to achieve a fresh, modern look. With the right paint and a bit of know‑how, you can save thousands on a kitchen reno and still achieve the kitchen of your dreams.
From dated cupboards and worn benchtops to uninspiring splashbacks and an eye-sore of a rangehood, this kitchen was crying out for a refresh. But rather than spend time and money replacing these aspects, we’re going to paint them. Paint is one of the most powerful (and affordable) tools for transforming your kitchen. When done properly, it can completely change the feel of the space, brighten dark corners and bring everything back to life for a fraction of the cost of a full renovation.
In this guide, we’ll walk you through how to completely transform a kitchen with paint and show you how important preparation and product choice are when painting this space.
How To Paint Kitchen Cupboard Doors
Painting your kitchen cupboard doors is one of the smartest ways to refresh your kitchen without the cost and disruption of a full renovation. If your cabinets are structurally sound but look dated, worn or a little worse for wear, a quality paint job can completely transform the space without breaking the bank.
While kitchen cupboard doors do require a bit more care than standard walls, the results are well worth the effort. With the right preparation and the Dulux Renovation Range, you can achieve a smooth, durable finish that stands up to everyday use and looks professionally done.

Here's what you need:
Here’s how you paint kitchen cupboard doors:
Step 1: Remove cupboard doors
Start by removing all the cupboard doors and drawers from the kitchen. Lay them out flat on a clean surface. Then, remove the handles. This is much easier than attempting to mask them with masking tape.
Expert Tip – Take 2 small pieces of masking tape, sticking one piece to the inside of the cupboard door and the other to the inside of the cupboard. Write the number “1” on both pieces of masking tape. Continue numbering all the cupboard doors so that when it comes time to reattach the doors, you simply have to match the numbers.
Step 2: Repair damage and fill holes
Next, check all the surfaces for dents, scratches and holes. If you’re replacing the hardware, you’ll need to fill the holes left behind by the old handles on the cupboards and drawers. Use Selleys Spakfilla Rapid to patch up these, then sand everything smooth once it dried.
Step 3: Prime
With the surfaces prepped, it is now time to prime. This is the most important step in transforming your kitchen. A kitchen is a high traffic zone and can be subject to a lot of wear over time. If you don’t get the prep work right, you risk your paint finish chipping, peeling or flaking due to the frequent use. Nobody wants this.
Thoroughly mix the additive into the Dulux Renovation Range Primer and apply 1x coat to the cupboard doors and exposed cabinetry. The Dulux Renovation Range has much longer recoat times than standard wall paints. For the primer coat, 4 hours dry time is needed before moving on to the next step.
Step 4: Paint
After waiting 4 hours for the primer to dry, apply our first coat of Dulux Renovation Range Cabinet Doors in your chosen colour. Begin by cutting in with a brush, before rolling. Like the primer, Dulux Renovation Range Cabinet Doors has a much longer recoat time than regular wall paint. 8 hours drying time is needed before applying the next coat.
Expert tip - Work in sections to try and limit the impact that this drying time has on your project. However, don’t rush to get painting again. For the best finish, you’re going to need to have some patience.
After the first coat is dry, apply the second coat. The Dulux Renovation Range requires a minimum of 2 topcoats. However, you can opt for a third topcoat if the coverage doesn’t meet your expectations. Allow your final coat to dry fully.
Step 5: Reattach the cupboard doors
After the final coat was dry, reattach the cupboard doors and handles. If you used the masking tape trick, this process will be simple.
(Back to top)
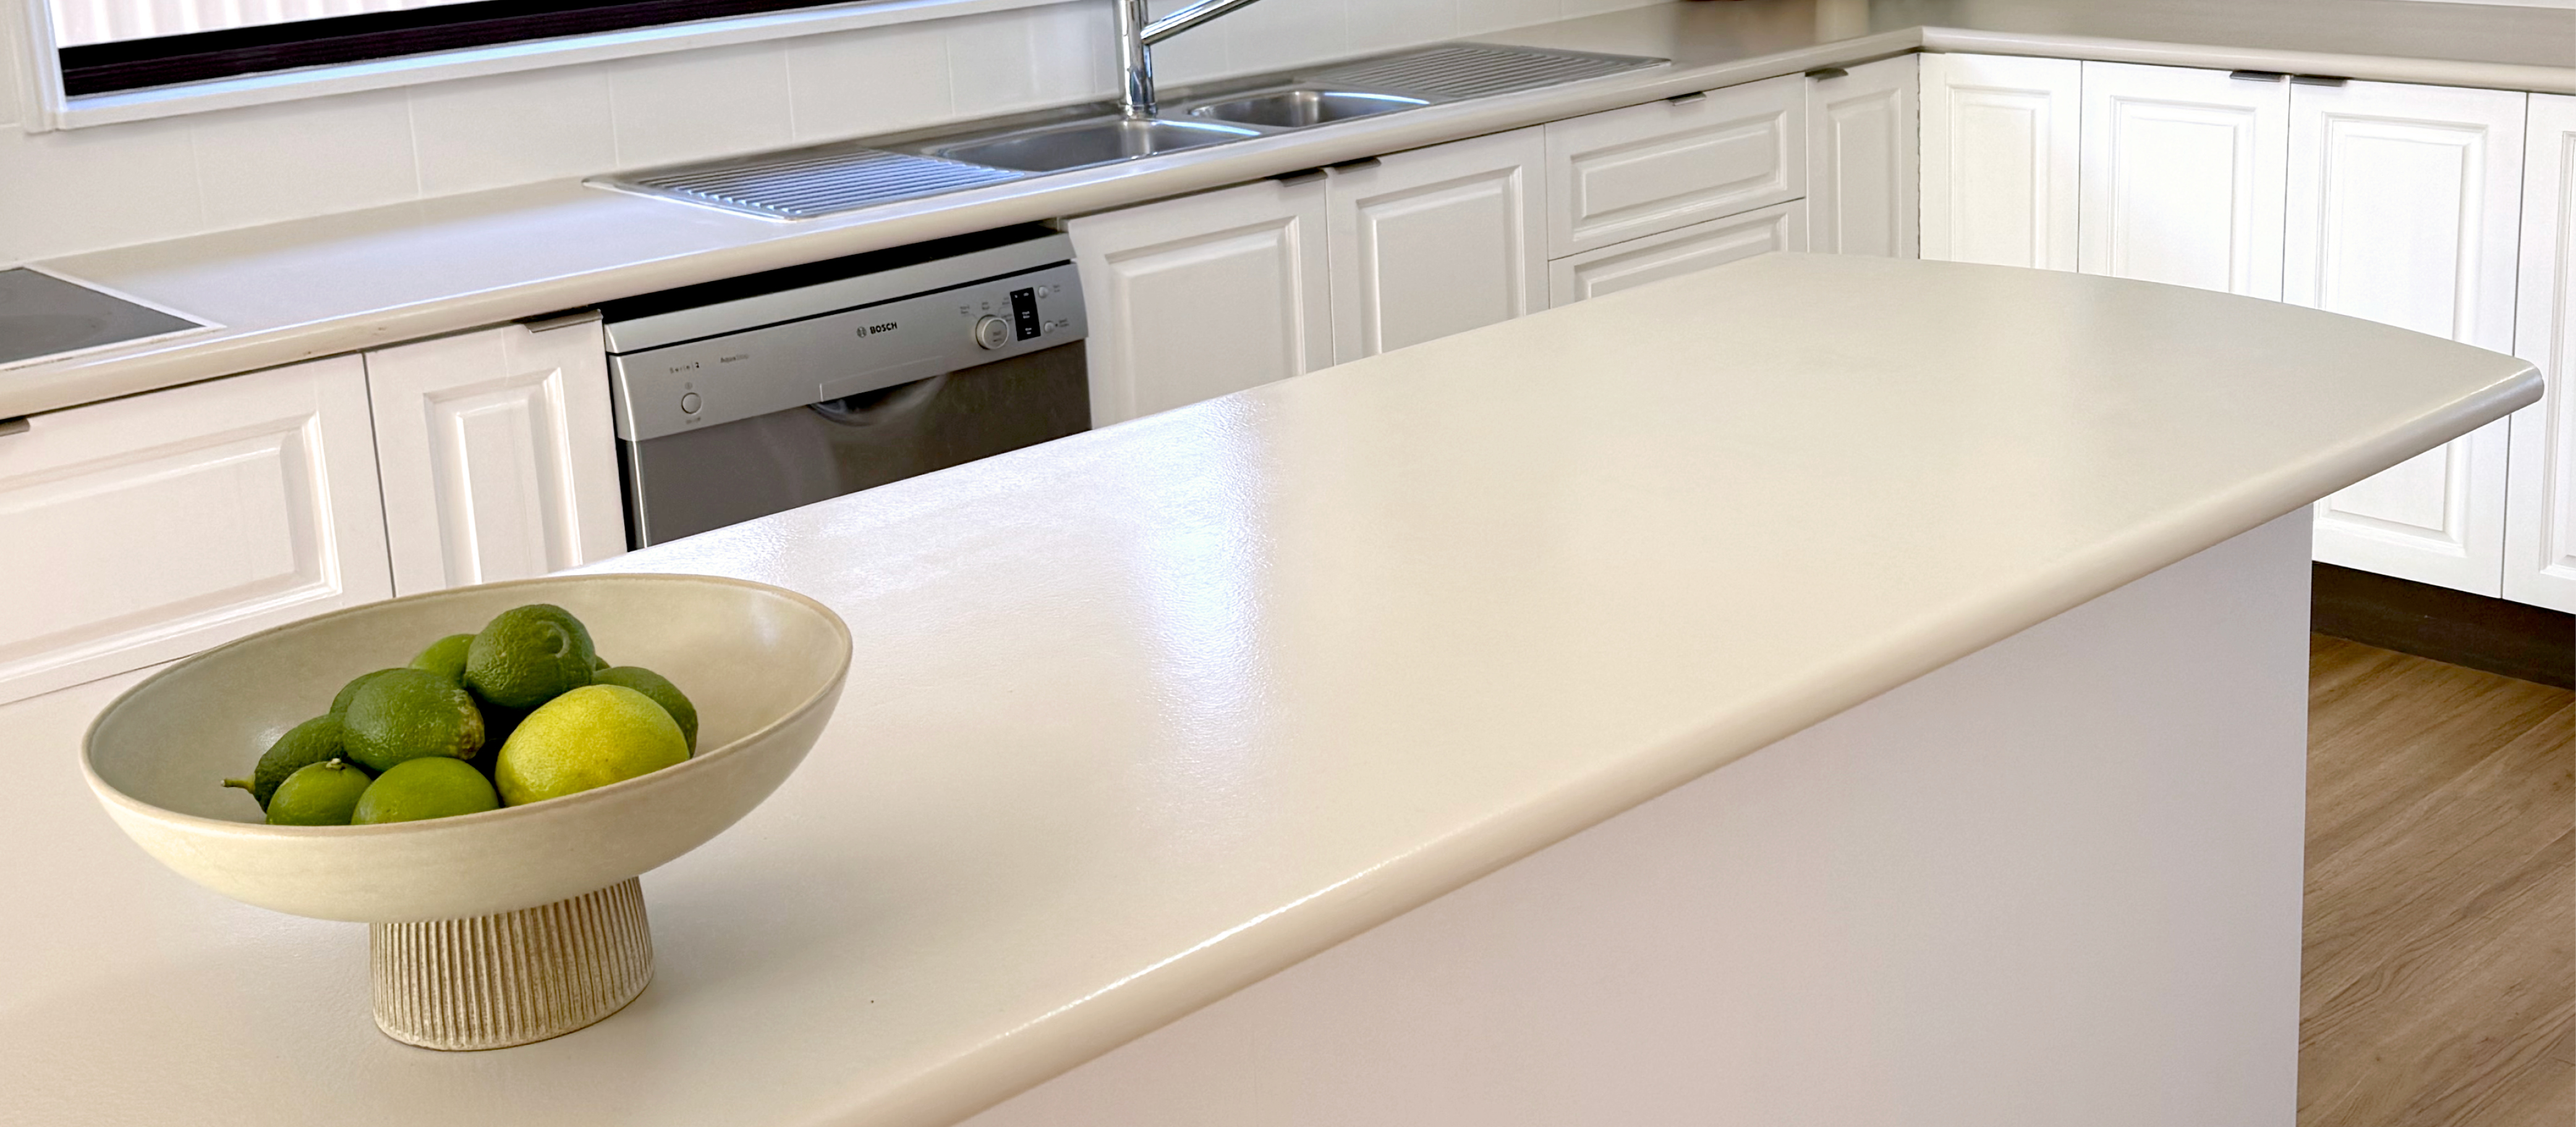
How To Paint A Kitchen Benchtop
A new benchtop can completely change the look of a kitchen, but the price tag often comes as a shock. If replacement isn’t on the cards, painting your existing benchtop can be a smart, budget friendly alternative that delivers a noticeable lift without pulling the whole kitchen apart.
That said, benchtops aren’t like walls or cupboards. They cop constant use, spills, heat and cleaning, so success comes down to doing the right prep and using the right products. That’s where the Dulux Renovation Range Tiles & Benchtops comes in.
Here's what you need:
Here’s how you paint a kitchen benchtop:
Step 1: Clean
Start by removing grease, food residue and cleaning product build‑up from the benchtop surfaces. Then, using Selleys Sugar Soap, wash down the benchtop to cut through any remaining grime. Rinse well with clean water and allow the benchtop to dry completely before moving on.
Expert Tip – Don’t skip this step. Any residue left behind can stop paint from bonding properly, leading to a poor finish.
Step 2: Sand
Once dry, lightly sand the entire benchtop to remove the glossy finish and help the primer grip with 120 grit sandpaper. You are not trying to remove the surface, just rough it up enough to create a good surface for the primer to adhere to. Pay extra attention to high‑use areas around sinks and cooktops. Wipe away all sanding dust with a damp cloth and allow the surface to dry.
Step 3: Mask
Use masking tape to mask around the splashback, exposed cabinetry, sinks and any unmovable appliances. Lay drop sheets to cover floors and nearby surfaces. Trust us, taking the time to mask properly now will make the painting process cleaner and far less stressful later.
Step 4: Prime
Add the additive to the Dulux Renovation Range Primer and mix thoroughly. Apply 1x even coat, first cutting in around the edges before rolling the benchtop surface. The Dulux Renovation Range has much longer recoat times than standard wall paints. For the primer coat, 4 hours dry time is needed before moving on to the next step.
Step 5: Paint
Apply 2x coats of Dulux Renovation Range Tiles & Benchtops in your chosen colour. Begin by cutting in with a brush, before rolling. Like the primer, Dulux Renovation Range Tiles & Benchtops has a much longer recoat time than regular wall paint. 8 hours drying time is needed before applying our next coat.
We suggest working in sections to try and limit the impact that this drying time has on your project. However, don’t rush to get painting again. For the best finish, you’re going to need to have some patience. Allow the first coat to dry completely before applying the second.
Step 6: Seal
Using the Dulux Renovation Range Clear Coat Satin, apply 1x even coat to the kitchen benchtops. This will protect your newly painted benchtop from everyday wear, adding extra durability and helping resist stains. Allow to cure completely for at least 8 hours.
(Back to top)
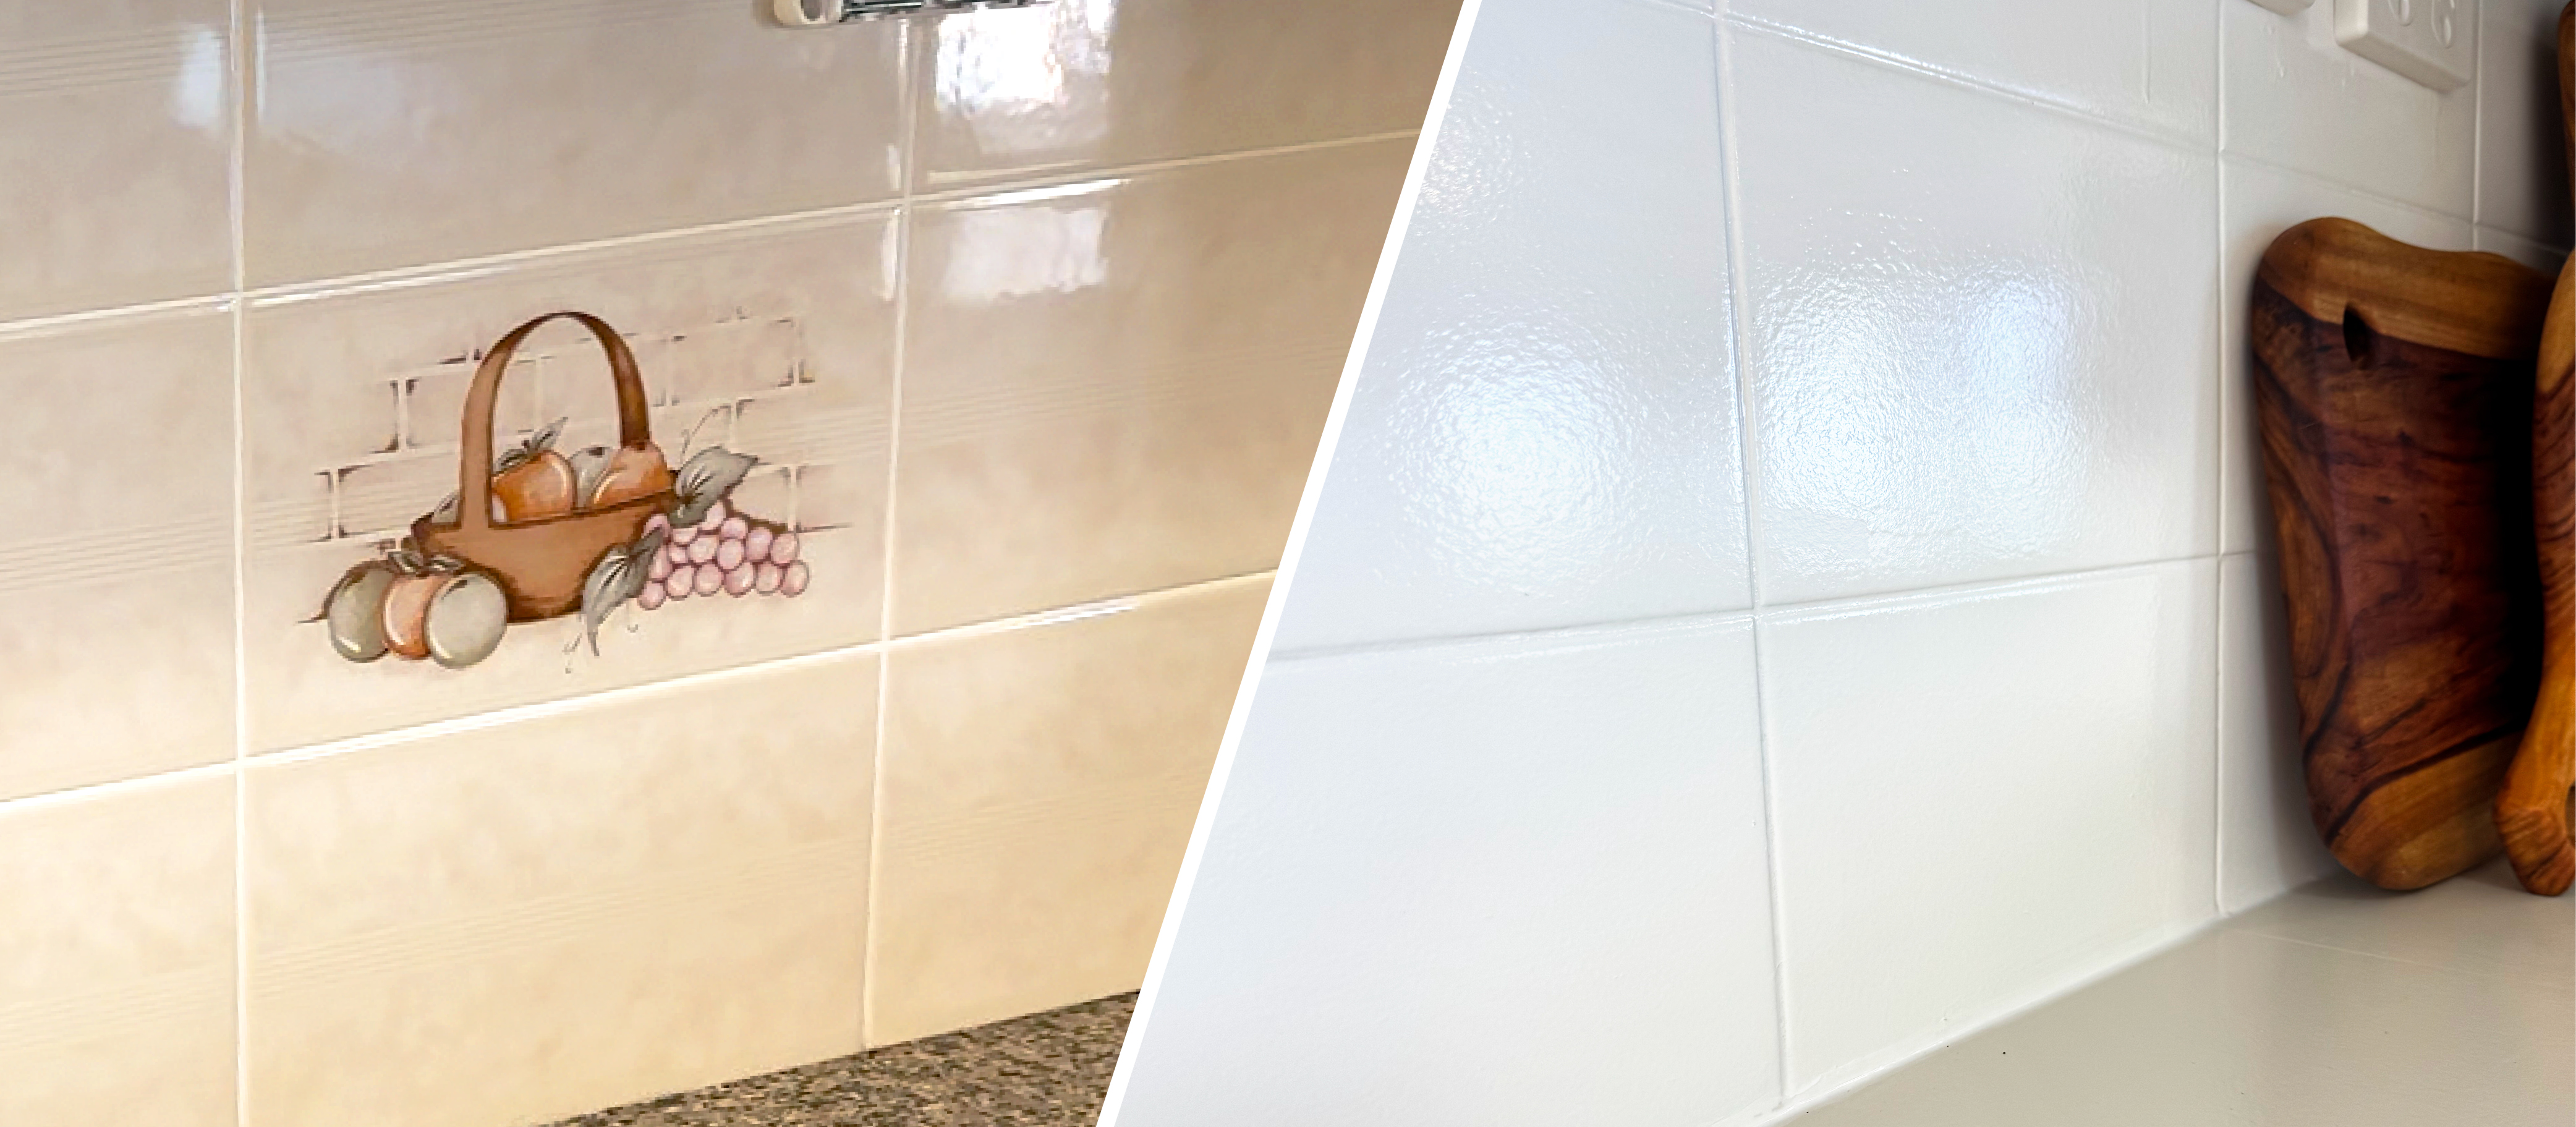
How To Paint A Kitchen Splashback
A kitchen splashback might be a small part of the space, but it plays a big role in how your kitchen looks and feels. If the tiles are dated, discoloured or no longer your style, painting the splashback can be a simple, cost‑effective way to give your kitchen an instant refresh without the mess and expense of ripping tiles off the wall.
With the Dulux Renovation Range Tiles & Benchtops, prepping and painting a splashback can modernise your kitchen, tie in new colour schemes and breathe life into an otherwise tired area.
Here's what you need:
Here’s how you paint a kitchen splashback:
Step 1: Clean
Start by removing grease, food residue and cleaning product build‑up from the splashback tiles. Then, using Selleys Sugar Soap, wash down the splashback to cut through any remaining grime. Rinse well with clean water and allow the tiles to dry completely before moving on.
Expert Tip – Don’t skip this step. Any residue left behind can stop paint from bonding properly, leading to a poor finish.
Step 2: Sand
Once dry, lightly sand the entire splashback with 120 grit sandpaper to remove the glossy finish and help the primer adhere. You’re not trying to remove the surface, just rough it up enough to create a good surface for the primer to stick to. Pay extra attention to high‑use areas around sinks and cooktops. Wipe away all sanding dust with a damp cloth and allow the surface to dry.
Step 3: Mask
Use masking tape to mask around the benchtop, exposed cabinetry, sinks and any unmovable appliances. Trust us, taking the time to mask properly now will make the painting process cleaner and far less stressful later.
Step 4: Prime
Add the additive to the Dulux Renovation Range Primer and mix thoroughly. Apply 1x even coat, first cutting in around the edges before rolling the splashback tiles. The Dulux Renovation Range has much longer recoat times than standard wall paints. For the primer coat, 4 hours dry time is needed before moving on to the next step.
Step 5: Paint
Apply 2x coats of Dulux Renovation Range Tiles & Benchtops in your chosen colour. Begin by cutting in with a brush, before rolling. Like the primer, Dulux Renovation Range Tiles & Benchtops has a much longer recoat time than regular wall paint. 8 hours drying time is needed before applying our next coat.
We suggest working in sections to try and limit the impact that this drying time has on your project. However, don’t rush to get painting again. For the best finish, you’re going to need to have some patience. Allow the first coat to dry completely before applying the second.
Step 6: Seal
Using the Dulux Renovation Range Clear Coat Gloss, apply 1x even coat to the splashback tiles. This will protect your newly painted tiles from everyday wear, adding extra durability and helping resist stains. Allow to cure completely for at least 8 hours.
(Back to top)
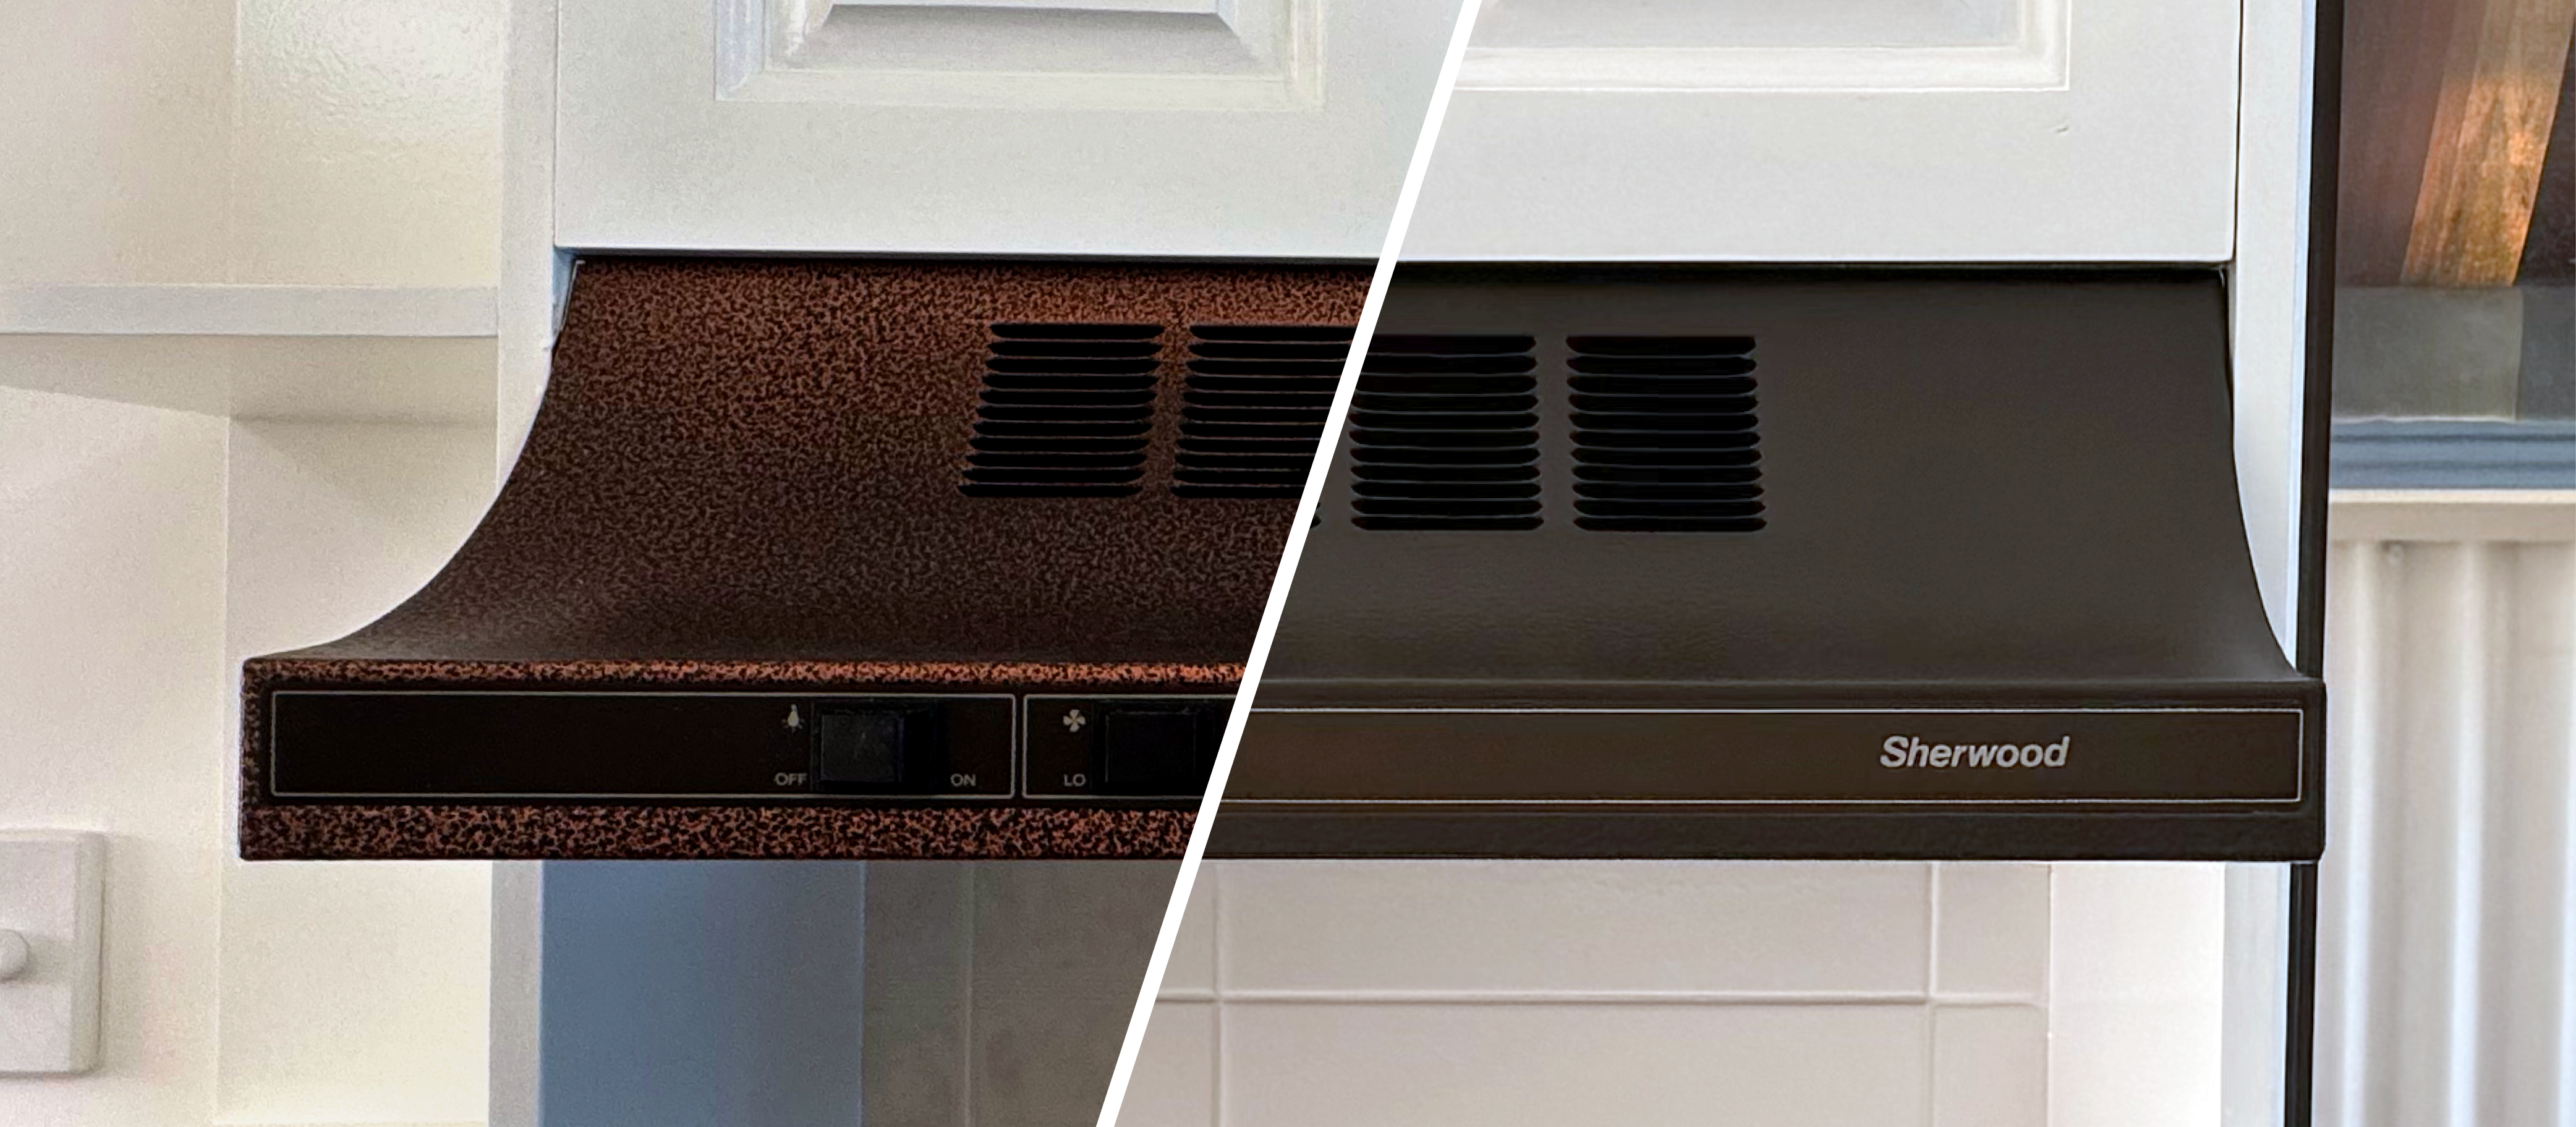
How To Paint A Metal Kitchen Rangehood
An unsung hero of the kitchen, the rangehood is often overlooked in the kitchen painting process. But if you’re looking to fully transform your kitchen with paint, this is one project you can’t skip.
Because metal rangehoods are exposed to heat, steam and grease, painting them requires the right preparation and products to ensure the finish lasts. When done correctly, a painted metal rangehood can blend seamlessly with cabinetry or become a subtle design feature in its own right. The choice is yours.
Here's what you need:
Here’s how you paint a metal kitchen rangehood:
Step 1: Turn off power and remove filters
For safety, first switch off power to the rangehood at the wall. Then, remove any filters, lights or detachable components and set them aside. These parts are best cleaned separately and not painted.
Step 2: Clean thoroughly
Kitchen rangehoods collect grease, oil and airborne residue that can prevent paint from sticking correctly. Clean the entire surface with Selleys Sugar Soap, paying extra attention to the edges, seams and undersides. Once clean, rinse with clean water and allow the surface to dry completely.
Step 3: Sand
With 240 grit sandpaper, lightly sand the metal rangehood to remove the shine and create a better surface for the paint to adhere to. Next, wipe away all dust with a clean, damp cloth and allow to dry.
Step 4: Paint
You’ll notice we have skipped past the priming step. That’s because we recommend using Norglass Weatherfast Heat-Safe for this project. Not only is it heat resistant (making it perfect for a metal rangehood), but it is also self priming.
Apply 2x coats to the metal rangehood with a brush, first cutting in around the edges before painting the rest of the rangehood. Allow your first coat to dry before applying the second.
Step 6: Reassemble
Once the paint is completely, reinstall the filters and accessories before turning the power back on.
(Back to top)
Transforming a kitchen is no small feat but using the right products and following our expert advice, the entire process is much more simple and satisfying (even with the long drying times). So, if you’re looking to refresh your kitchen, but don’t have the budget to renovate, painting is the best way to achieve your dream kitchen.
Visit your local Inspirations Paint store to get everything you need for your next DIY project.
Check out these DIY projects